
A while back I was browsing the time sucker called Pinterest. I noticed a pin for making a map out of cork to mark all the places you have lived/visited. My genealogy brain immediately took over and gave the map an ancestor twist. Wouldn’t it be cool to make a pretty map to mark where all of my ancestors have lived?
With the kids in tow, I went on a quick adventure to gather the materials I would need:
- A cork board (I got mine at target for $10)
- A map of the United States (AAA offers free maps for members.)
- A pencil
- A Black Sharpie Marker
- Exacto Knife
- A piece of sandpaper
- 1 Sheet of color card stock paper
- Toothpicks
- Hot Glue Gun
That afternoon, while my younger daughter was napping, I worked on my new genealogy map. First, I cut the map of the United States down to the borders. You don’t have to be precise since it is impossible to cut cork exactly. I then laid the map onto the cork and traced the outline using a pencil.

Then the fun started. Using the Exacto knife, I cut out the map. I definitely suggest cutting the cork board out of the frame first. I also recommend cutting a large chunk of cork off one of the corners to practice how you will cut the cork board. The board I purchased turned out to be 1/16 inch of cork glued onto 1/4 inch of pressed/glued cardboard type material. I was only able to cut from the cork side to avoid tearing the cork off. Some sections of the map took a lot longer to make sure I did not accidentally cut off important parts of the country such as Florida, Upper Michigan, etc.
Due to the composition of the cork board I purchased, the edges were a little ragged after cutting the map out. To make my edges look more professional, I took a piece of sandpaper and lightly sanded around the entire map.
Next, I took the paper map I used as my template and placed it back onto the cork map. I slowly traced each state with the pencil. This left light indentations on the cork board. After tracing all 48 contiguous states (luckily I do not have any Alaska/Hawaii ancestors) I removed the paper map. Using the black Sharpie pen, I then lined each indentation on the cork. I also outlined the entire border with the Sharpie using a thicker line.
The last step for creating the map was to take a piece of scrap wood we had in our garage and hot gluing it to the back of the map. I did this so I can hang the map on the wall of my home.
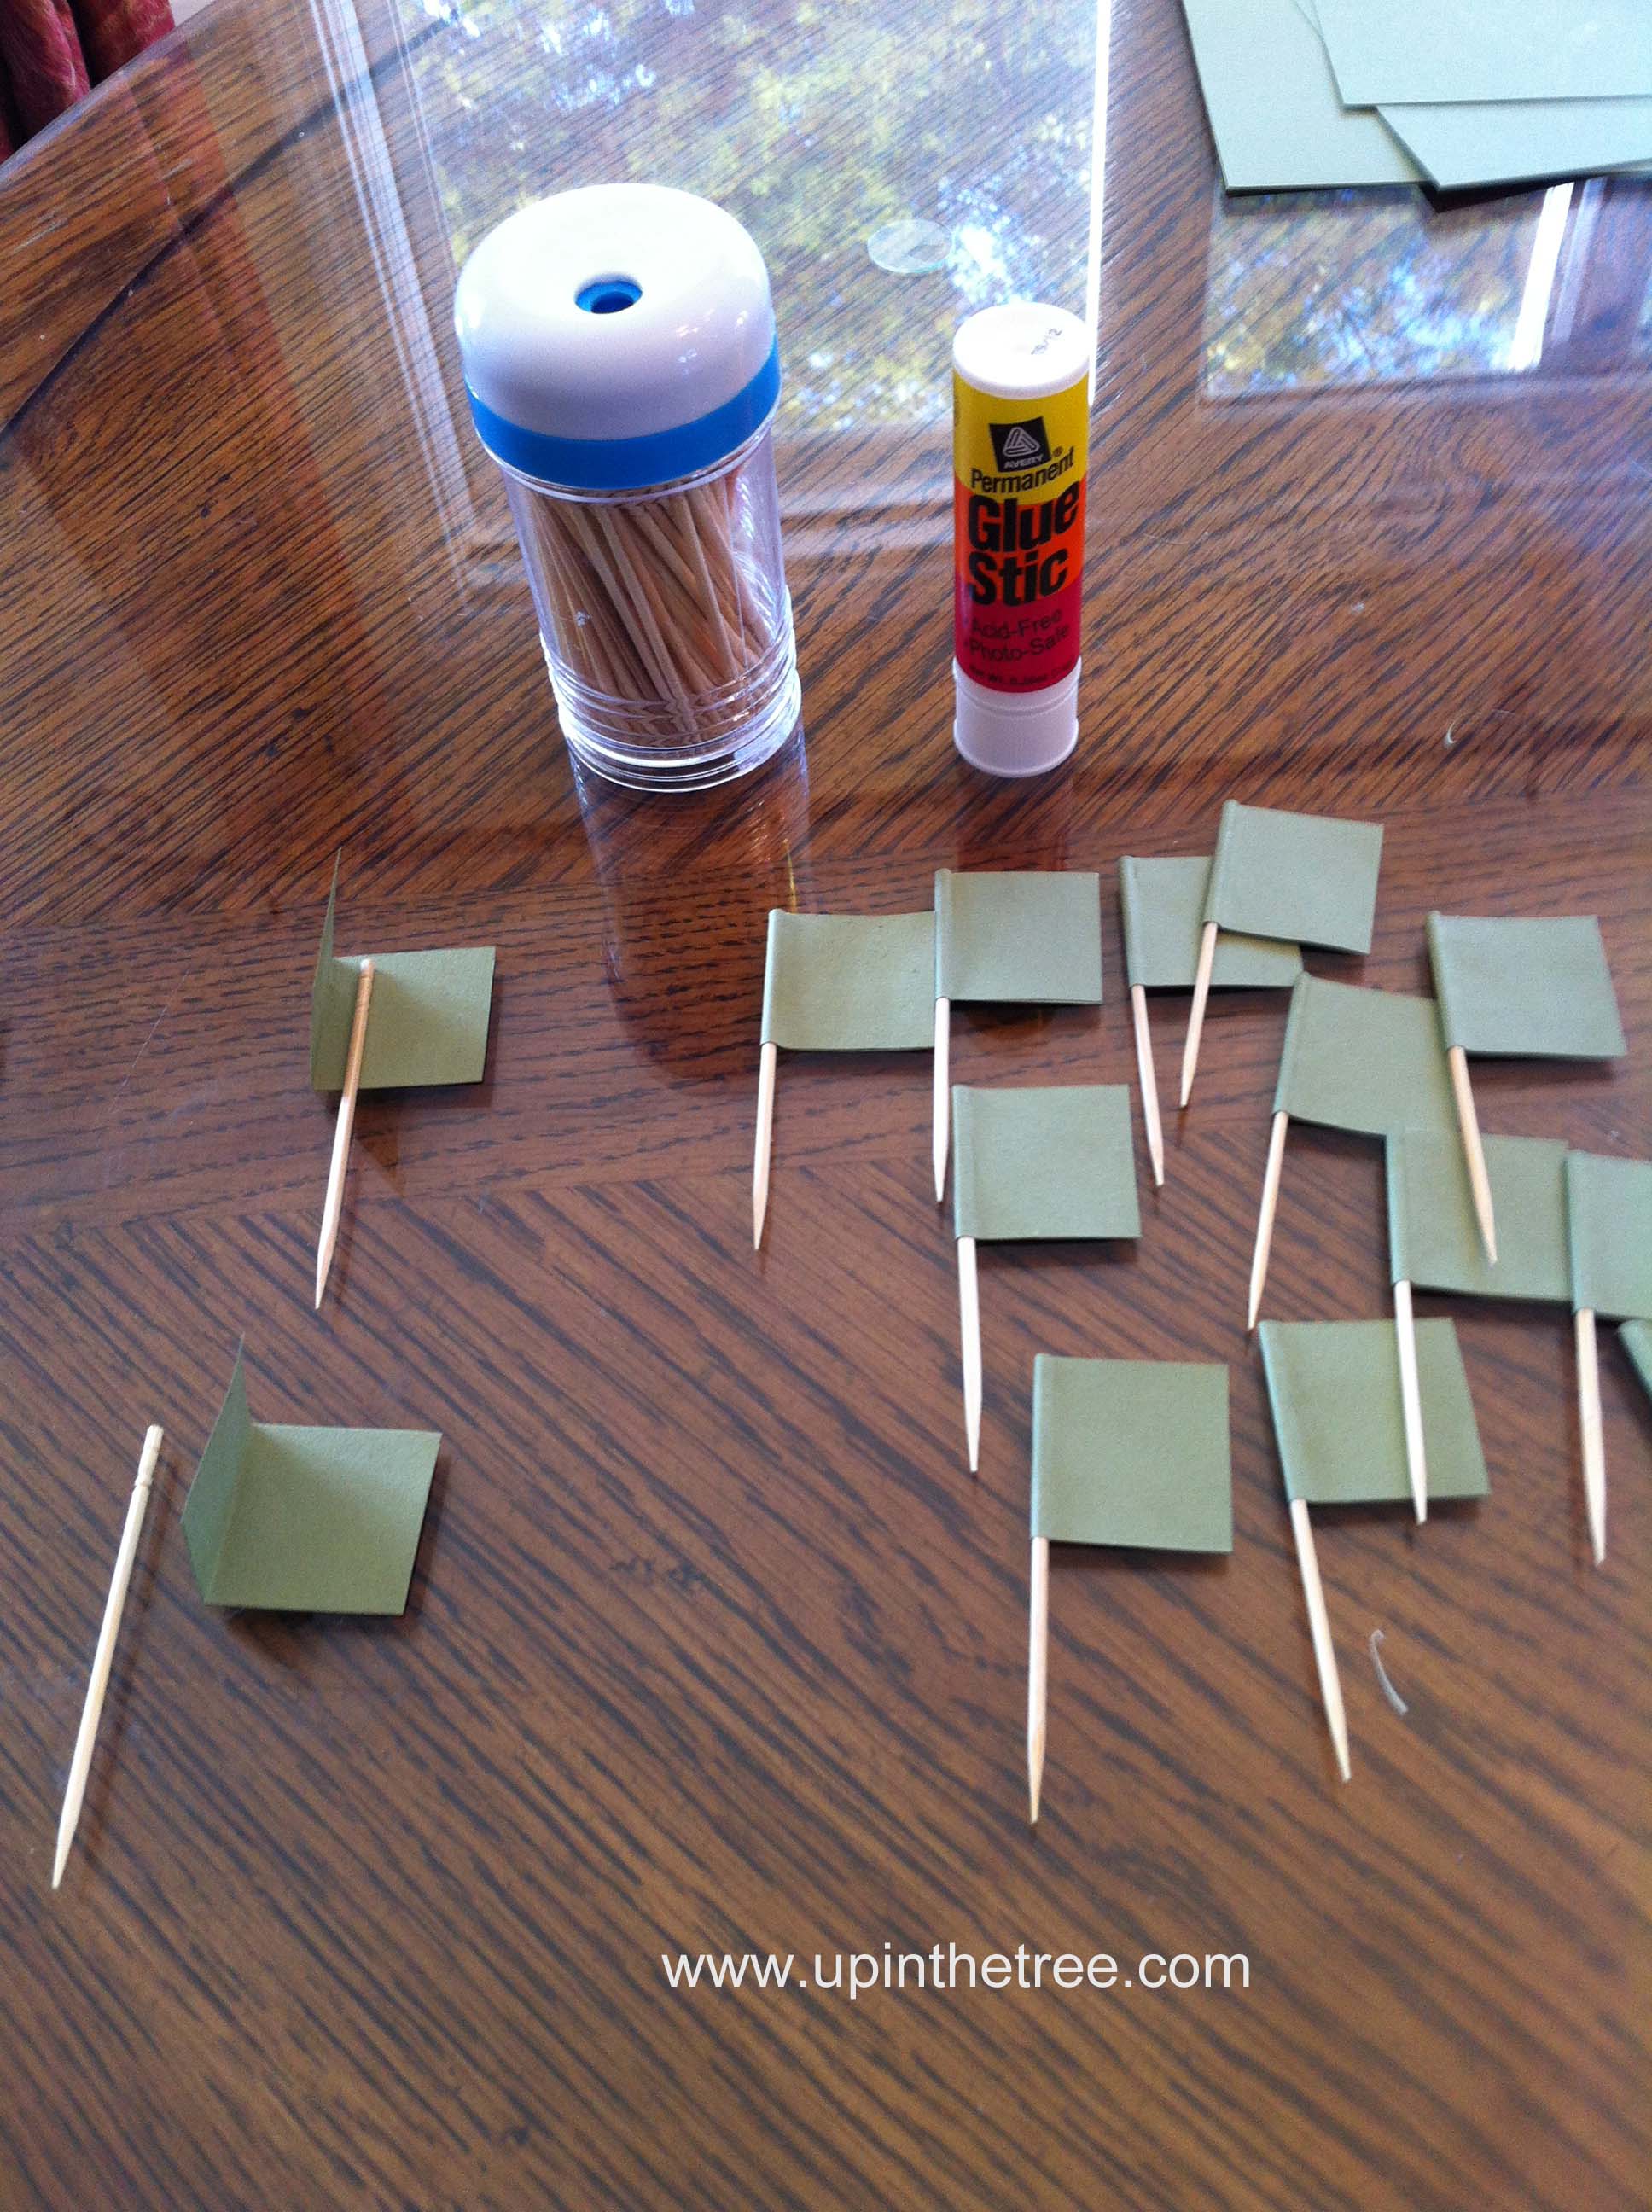
Now that I had my map, I needed to decide what events and people to include. I eventually decided to begin with birth places of my ancestors. I created little flags using card stock. I cut out rectangles and folded them in half to create squares. I then glued the card stock squares onto tooth picks. On each flag is written the city and state using a nice black pen. I again used the paper map template to accurately place the flags onto the map.
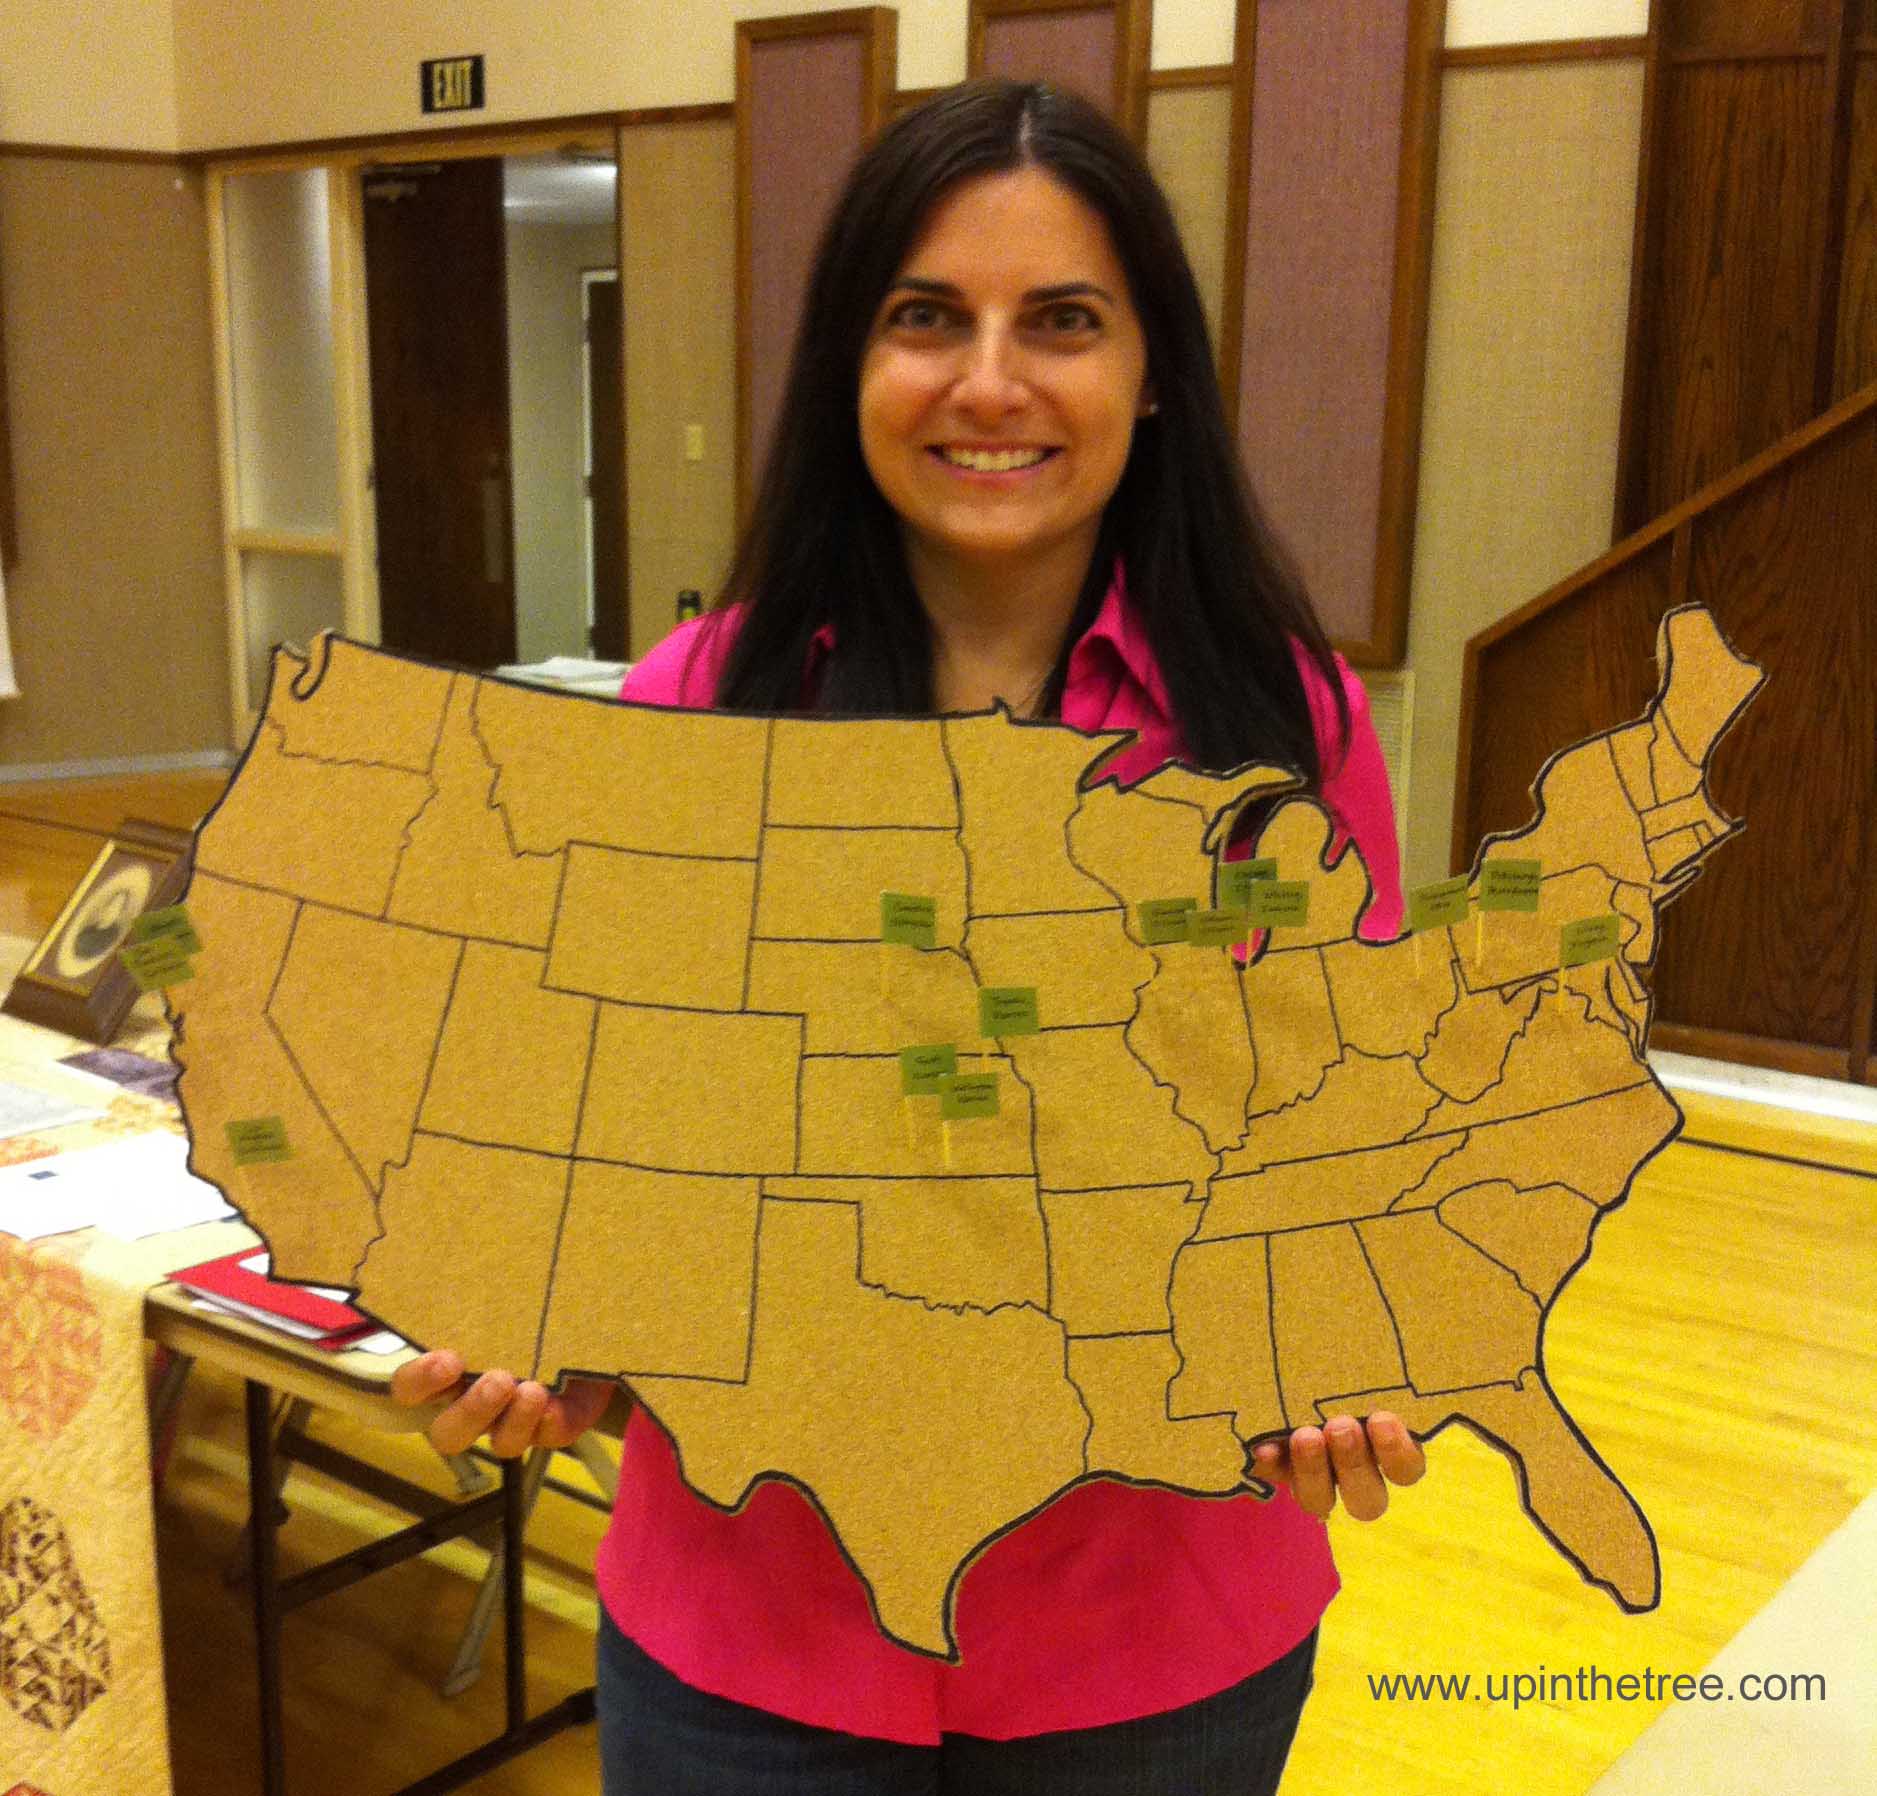
I shared my Genealogy Map at the June meeting of the Marin County Genealogical Society. The monthly meeting was in a “walk about” style where we all bring items to share and discuss. At the meeting I had a conversation about what to include on the flags. I received a great idea to use other colors of card stock to note marriages and deaths. Now I just need to figure out how to display cities that had multiple events occur. Any ideas?
I don’t have ideas on what you can do about cities with multiple events, but I wanted to say that your Genealogy Map is a brilliant idea! You look so pleased with it 🙂
Thanks! It was so much fun to make. I am working on fixing up the office in our new home. When I do, I will put up a photo of how it looks on my genealogy wall.
This is a cool idea.